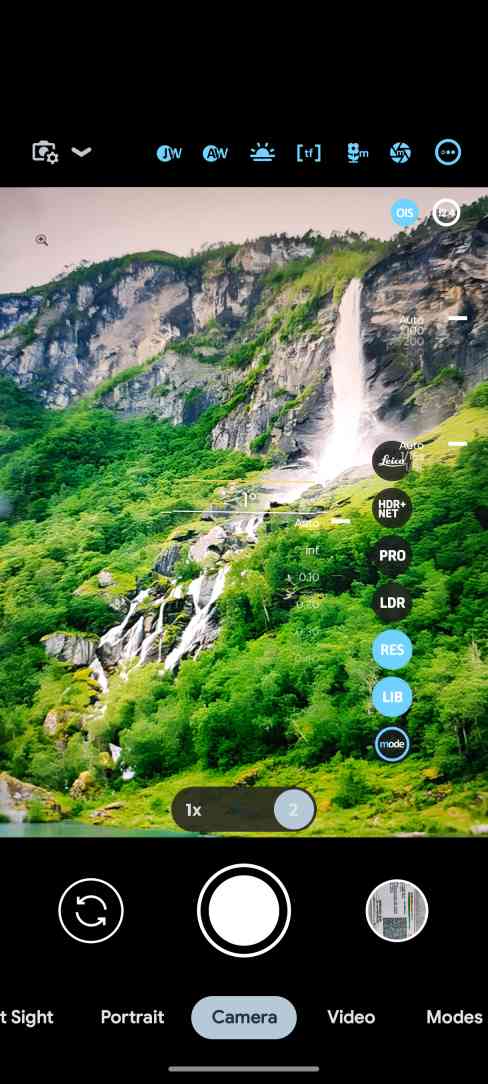
HDR stands for High Dynamic Range is a widely-used camera mode. However, many people don’t know how to use this HDR mode, so here is a detailed article that explains in which situations HDR mode is beneficial, and in which situations it is better to avoid such a camera setting.
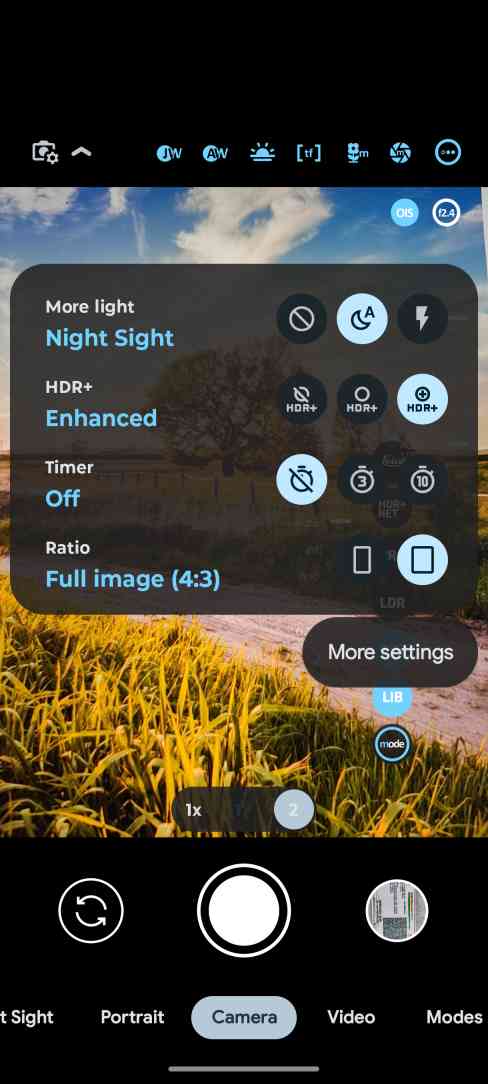
Most stock camera apps come with a standard HDR mode, but LMC 8.4 has an HDR+ Enhanced feature which is an advanced mode of this feature that gives better output and helps improve your photo quality to staggering levels. Once you understand this mode, you will be able to take better photos during the day as well as at night.

What is HDR Mode?
The HDR mode functionality allows your device’s camera to create clearer photos by combining multiple images with different exposures into one picture. This evens out the lit and shaded parts of the photo so that there is neither underexposure nor overexposure, and both details are rich. The effect creates an image that covers a greater dynamic range
In the LMC 8.4 camera app, HDR mode is optimized to produce high-quality images, allowing you to capture photos with greater clarity, contrast, and color accuracy.
When to Use HDR Mode
HDR mode can be beneficial in a variety of situations, especially when you’re dealing with high-contrast scenes. Here are some scenarios where using HDR mode in LMC 8.4 will help you capture perfect photos:
High-Contrast Scenes
HDR mode is typically applied to images that display a high level of contrast. For example, images with high and low contrast such as a bright sky against a shadowy landscape. In the absence of HDR, bright areas of the image may burn out, and shadows may appear blocked. The HDR mode fixes this by ensuring that highlights and shadows are evenly exposed, creating a sharp and well-balanced image.
Example:
- Scenario: Shooting a landscape with a bright sky and a darker foreground.
- Result: HDR balances the exposure, keeping the sky from being too bright while preserving details in the foreground.
Backlit Subjects
Backlighting is a situation in which a bright light source is placed behind the subject in a photo. Thus, it becomes difficult to capture the correct exposure in both the foreground and background. In other cases, the focus subject in the image may appear too dark while the background may be too bright or overexposed. This mode of HDR helps in properly exposing images regardless of the lighting conditions as the foreground interference does not allow excess light into the background.
Example:
- Scenario: Taking a photo of a person standing in front of a bright window or sunset.
- Result: HDR illuminates the subject while keeping the background well-exposed.
Sunsets and Sunrises
While it is true that evenings and mornings are among the most beautiful times of the day, full of colors and light effects, taking photos during these times comes with its own difficulties in terms of lighting. Between the bright sky and its dark foreground, there is often too much contrast, and this leads to either an overexposed sky or a very muddy-through-the-lens-view type of pathological result. In these situations, it is advisable to use HDR mode as it enables the available colors and light to be captured to their fullest extent without losing the most active colors of the sky while focusing on the foreground.
Example:
- Scenario: Photographing a sunset with a silhouette of a landscape or city skyline.
- Result: HDR enhances the colors of the sky while maintaining the details in the darker areas of the scene.
Outdoor Portraits in Bright Sunlight
Shooting portraits in the bright sunlight can be quite a challenge. Excessive lighting can give rise to severe light shadows on the subject’s face, making it difficult to create a well-exposed portrait. The mode HDR works in such cases, helping light the subject’s face and cutting down on the severity of the shadows. This helps create a picture where the lighting is even across the portrait, the shadows are less pronounced and the details in the darks and brights are much clearer.
Example:
- Scenario: Shooting a portrait outdoors in direct sunlight, where harsh shadows are present.
- Result: HDR softens the shadows and evens out the exposure for a better portrait.
Low-Light Situations with Bright Light Sources
HDR mode can be useful in addressing the exposure when taking photos under low light situations with bright light sources that one can quite often encounter such as street lights or bright buildings. In the absence of HDR, any bright lights would appear clipped while other portions would be too dark. The ISO mode ensures that bright light sources are reduced, and other areas are brightened to highlight more details.
Example:
- Scenario: Photographing a cityscape at night with bright streetlights or illuminated buildings.
- Result: HDR reduces the brightness of the light sources and enhances the visibility of the darker areas.
When Not to Use HDR Mode
While HDR mode can significantly enhance your photos in many situations, there are times when it’s best to avoid using it:
- Moving Subjects: HDR combines multiple images to create the final photo, so it’s not ideal for capturing fast-moving subjects. The subject may appear blurry if they move between exposures.
- Low-Contrast Scenes: If the scene doesn’t have much contrast between the light and dark areas, HDR may not be necessary and can make the photo look unnatural.
- Vibrant Scenes: Sometimes, HDR can flatten the colors in already vibrant scenes, reducing their natural contrast. In these cases, it’s better to capture the photo without HDR.
How to Enable HDR Mode in LMC 8.4
Enabling HDR mode in the LMC 8.4 camera app is simple:

- Open the LMC 8.4 Camera App: Launch the LMC 8.4 app on your smartphone.
- Switch to HDR mode: To do this, press the HDR icon that appears in the camera interface. In some versions of the app, the HDR option is labeled “Create photo with HDR on”, “Create photo with HDR auto”, or “Create photo with HDR off”. Select the option ‘Turn on HDR’ if you want HDR adjusted for every photo, or select ‘Turn on HDR’ which will allow the system to determine when HDR is needed.
- Take a photo: After switching to HDR mode, adjust your frame and then press the shutter button to take a photo. The app will do its job and merge the different exposures into the required HDR image at the end of the process.
Conclusion
One of the enhancements that you can find in the LMC 8.4 camera app is HDR mode which is useful, particularly in taking photographs under challenging lighting conditions. Note that it is possible to use HDR without overexposing the photo, such as in a cool back-lit scene or when exposing a subject to bright light outdoors during a low-light environment.
Nevertheless, it is fundamental to understand the situations in which HDR is needed and those in which it is not because there are instances when this feature is not required. It will take some time for things to improve, but the HDR mode is definitely a great aid in photography practice and helps achieve beautiful harmony in the photos taken.
Whether you’re shooting landscapes, portraits, or cityscapes, HDR mode in LMC 8.4 will give you the flexibility to capture perfect photos that stand out.